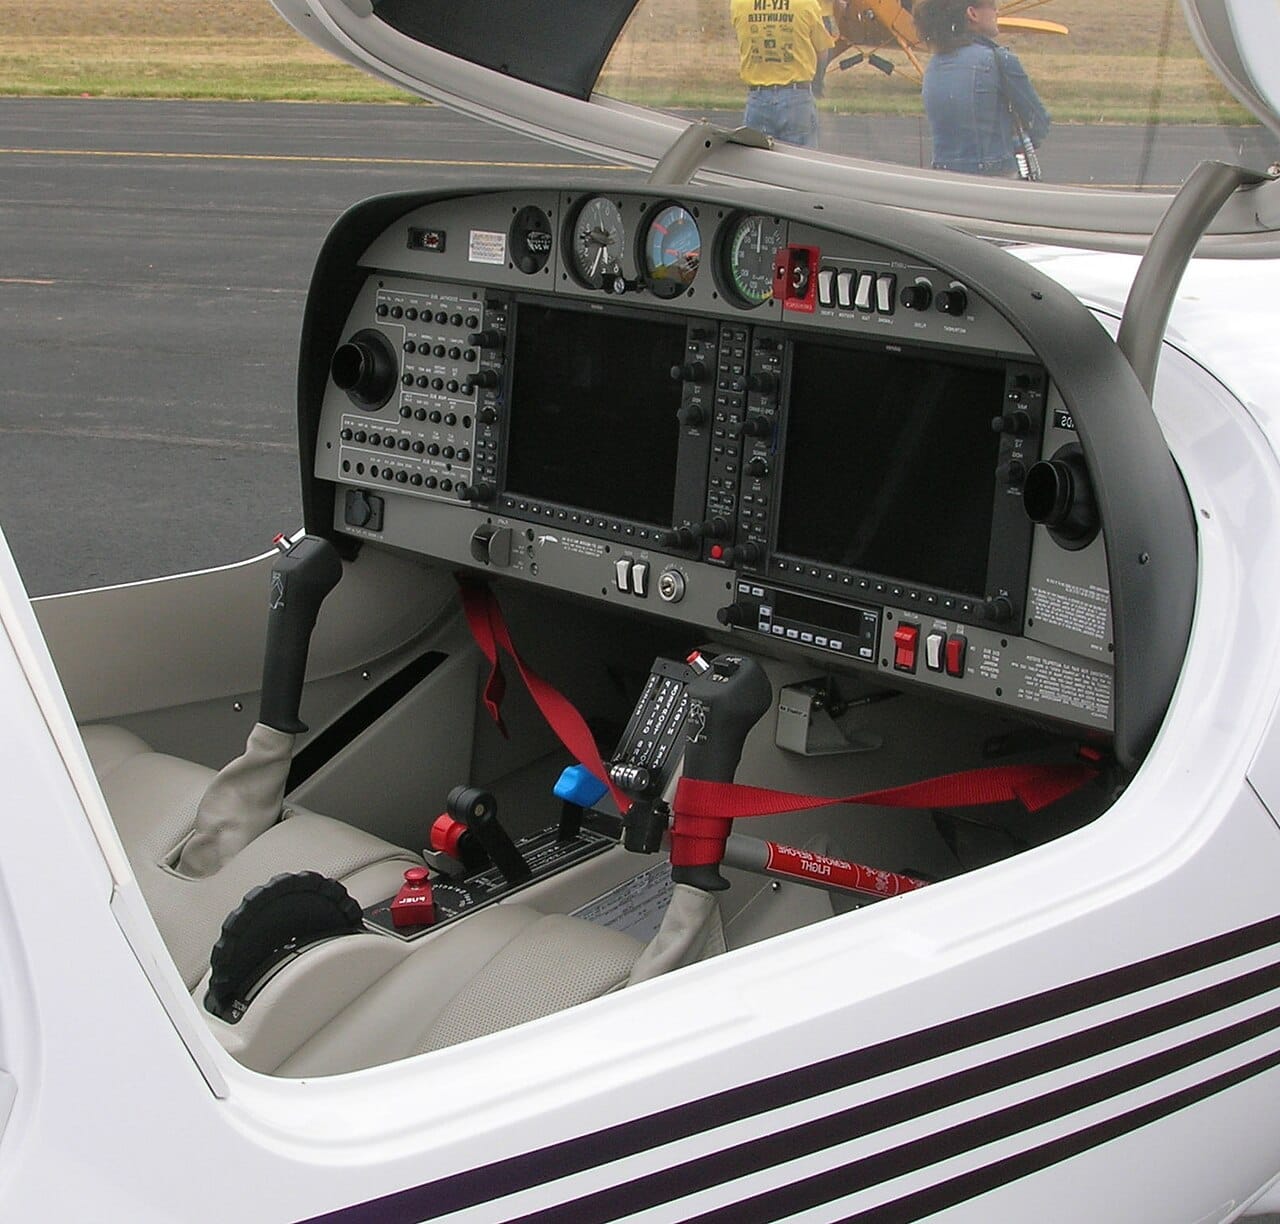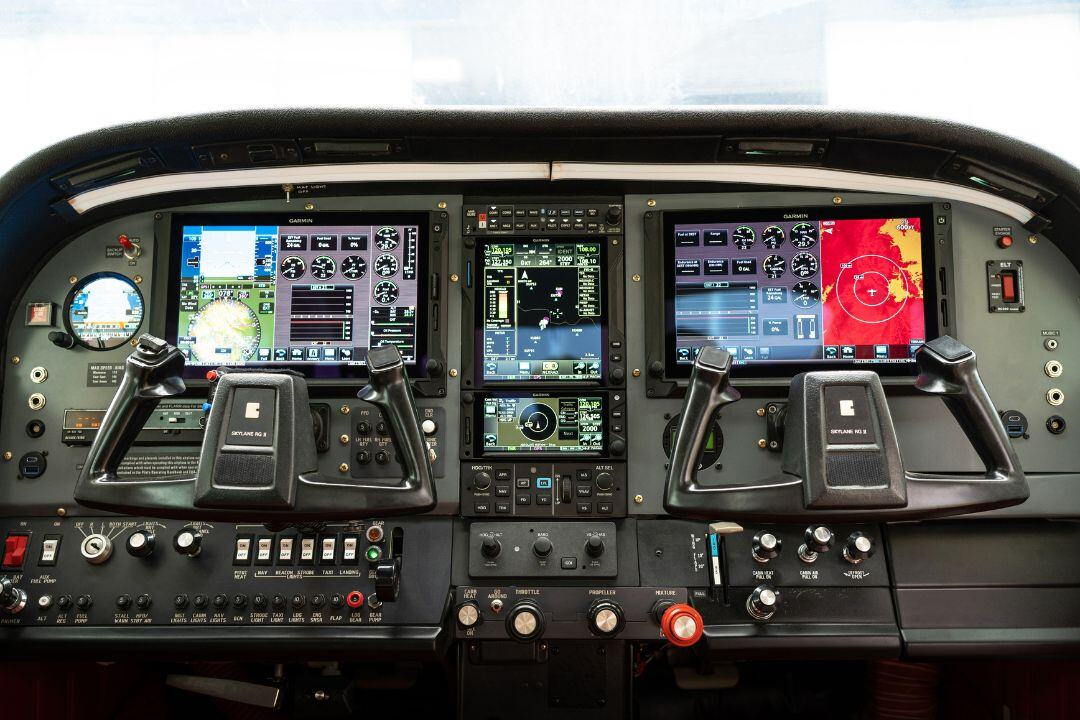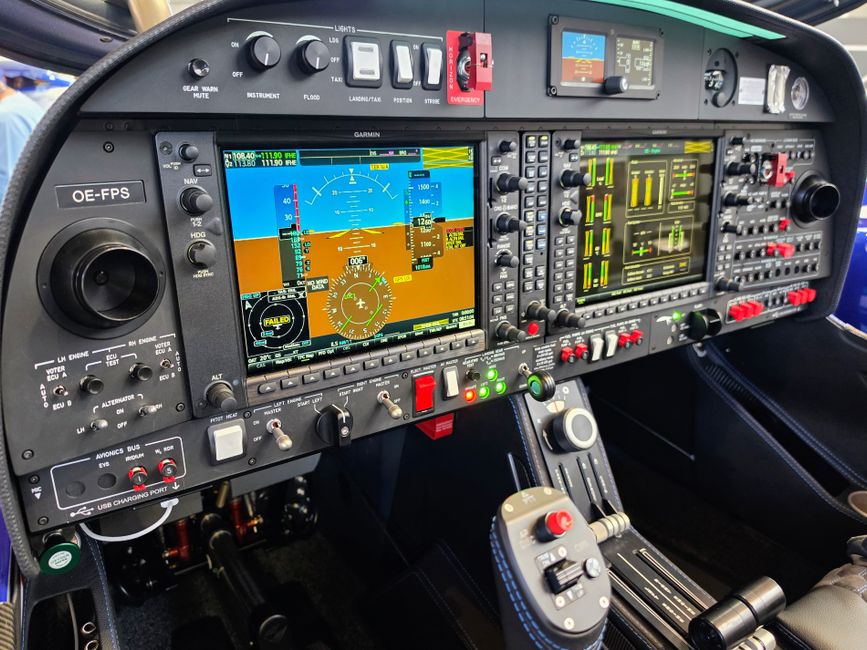
"My attitude indicator is getting lazy and the pump is past 900 hours — do I fix the vacuum system or rip it out?" For most owners who plan to keep the airplane more than two or three years, replacing a failing vacuum system with a G5 or GI 275 is the better buy, because you are already spending four to seven thousand dollars on parts you will throw away the next time a gyro spools down slowly. The gap between a full vacuum refresh and a dual electronic display install is smaller than most people expect.
By the end of this guide you will know what each path costs, which unit fits your airplane and autopilot, what the shop actually does to your panel, and roughly how much of the money comes back when you sell. Start to finish, plan on two to six weeks from decision to first flight, with three to ten working days of that spent with the airplane in the shop.
| Step | What you need | Typical time |
| 1. Confirm the vacuum system is actually dying | Pump hours, suction gauge readings, mechanic's opinion | 1 hour at your next flight or annual |
| 2. Price the honest repair first | Quote for pump, gyros, filter, hoses | 2–3 days for quotes |
| 3. Choose G5 or GI 275 | Panel photos, autopilot model, budget | A few evenings of reading |
| 4. Check the Approved Model List and your autopilot | Make, model, serial number; autopilot STC data | 1 day, usually done by the shop |
| 5. Get two written quotes | Scope sheet, panel layout sketch | 1–3 weeks for a shop slot |
| 6. The install | Airplane at the shop, flexible schedule | 3–10 working days |
| 7. Paperwork, insurance and logbooks | 337, AFMS, weight and balance, policy update | 1 week after return |
Step 1: Confirm the vacuum system is really on its way out
A dry air pump is a wear item, like brake pads — it is built with carbon vanes that are meant to wear out before they chew up the engine accessory pad. Dry-air-pump replacement and inspection guidance depends on the specific pump model and aircraft maintenance instructions. RAPCO, for example, directs owners to follow the aircraft maintenance manual first; where no interval is published, some Airborne-style pumps use a 500-hour or six-year replacement basis, while certain RAPCO pumps instead use vane-wear inspections and model-specific limits. Many owners fly well past that; many also get a very quiet failure in IMC.
Signs worth writing down before you spend money: suction below the green arc at cruise RPM, an attitude indicator that takes more than five minutes to erect, a heading indicator that precesses more than about three degrees in fifteen minutes, or a vacuum filter nobody can find a logbook entry for. Ask your mechanic to note the readings. You will want that record when you justify the upgrade to yourself, and later to a buyer.
Heads Up: A healthy suction gauge does not mean a healthy pump. Dry pumps usually fail without warning and without any drop in indicated suction beforehand. Hours and calendar age are better predictors than the gauge.
Step 2: Price the honest repair before you price the upgrade
You cannot judge payback until you know what doing nothing clever would cost. As of 2025, typical general aviation shop pricing in the U.S. looks roughly like this: a new or overhauled dry air pump installed runs about $900 to $1,600; an overhauled exchange vacuum attitude indicator about $1,300 to $2,500; an overhauled directional gyro about $700 to $1,500; plus the central filter, hoses and the regulator. A complete refresh of the whole stack on a 1970s single commonly lands between $4,000 and $7,000.
That is the number that makes the upgrade decision easy or hard. If only the pump is tired and both gyros are young, a $1,200 pump is the right answer this year. If the gyros are original-ish and the pump is due, you are halfway to a dual-display install and the money is going into parts that will be worthless in ten years.
Flying411 keeps aircraft listings, panel photos and equipment lists in one place, so you can compare what similar airplanes are actually flying with before you commit to a panel plan.
Step 3: Choose between the G5 and the GI 275
Both are Garmin products, both are certified for certificated airplanes under Approved Model List supplemental type certificates, and both can let you remove the vacuum system entirely when installed as a pair. They are not the same tool.
| Garmin G5 | Garmin GI 275 | |
| Display | Rectangular screen in a 3-1/8 inch hole with adapter | Round, fills the 3-1/8 inch hole edge to edge |
| Roles | Attitude indicator, or DG/HSI | ADI, HSI, CDI, MFD, engine indication, traffic and weather display |
| Backup battery | Standard backup battery, up to 4 hours | 60-minute battery included with ADAHRS/primary-flight-instrument versions; optional on the basic GI 275 configuration |
| Legacy autopilot support | Limited; usually paired with GFC 500 or specific interfaces | Designed to feed many legacy analog autopilots directly |
| Unit list price, 2025 | Roughly $2,800–$3,200 each | Roughly $4,000–$6,000 each by configuration |
| Typical installed pair | $9,000–$14,000 | $15,000–$22,000 |
The short version: if you have no autopilot, or a modern Garmin one, the G5 pair is the value play. If you have a legacy King or Century autopilot that is driven by the vacuum attitude gyro, the GI 275 is often the only way to kill the vacuum system without also killing the autopilot. That single fact moves more owners to the GI 275 than screen size ever has. Our comparison of the G1000 and the G5 in the Cessna 172 is worth a read if you are also weighing a glass-panel airplane instead of an upgrade.
Step 4: Check the Approved Model List and the autopilot before you fall in love
Neither unit is approved for every airplane. Garmin publishes an AML for each STC listing make, model and in some cases serial ranges, and the shop should confirm your exact tail is on it before taking a deposit. Garmin's G5 attitude indicator installation in certificated airplanes is covered by STC SA01818WI; the GI 275 carries its own AML STC with a far longer list of supported interfaces.
Three things commonly derail the plan here. First, an autopilot that is not on the supported interface list, which can turn a tidy job into a full autopilot replacement. Second, a panel with non-standard instrument cutouts or a shock-mounted instrument panel that needs extra fabrication. Third, owners should not assume that removing the vacuum system automatically satisfies every required-instrument or redundancy requirement. The approved configuration depends on the specific Garmin STC installation, aircraft equipment and intended VFR or IFR operation, including the required backup-power arrangement.
Why It Matters: Buyers' mechanics read the 337 and the flight manual supplement, not the sales brochure. An install that deviates from the STC data is a finding at prebuy, and findings turn into price reductions.
Step 5: Get two written quotes with the scope spelled out
Avionics quotes vary more than engine quotes because the labor is harder to predict. Ask each shop to list, in writing: units and part numbers, magnetometer and interface modules (a GMU magnetometer for heading, an interface module if you want GPS course data on the HSI), panel cutting or a new instrument panel, removal of the pump, lines, regulator and old gyros, the pitot-static leak check that is required when the static system is opened, updated weight and balance, and the 337 with the AFMS.
Also ask what they will do with the old instrument hole. Some shops leave a blanking plate, which looks unfinished in photos; a new laser-cut panel section costs more but photographs far better when you list the airplane. Many of the same traps show up in our guide to common avionics upgrade mistakes Cessna 172 owners make.
Pro Tip: Ask for the quote to separate "vacuum removal" as its own line. If a future buyer's mechanic questions whether the system was properly capped and the plumbing removed, you have a document that says exactly what was done.
Step 6: The install, and what usually goes sideways
Plan for three to ten working days. A clean dual-G5 job in an airplane with a standard six-pack and no autopilot entanglement is a three or four day affair. A GI 275 pair tied to a legacy autopilot, with a new panel insert and an engine indication display, can run two weeks.
The common surprises are not electronic. They are 50-year-old wiring behind the panel that nobody wants to reuse, corroded screws and nutplates, a static line that fails the leak check once it is disturbed, and a backordered interface module. Build a cushion into your schedule and do not book a trip for the week after the promised completion date.
While the panel is open, this is the cheapest hour you will ever buy for other work. Owners often add an engine monitor at the same time because the labor overlaps — our look at whether an engine monitor is worth the install cost covers that math.
Good to Know: Removing the pump, hoses, regulator, filter and two vacuum gyros typically saves somewhere in the range of five to ten pounds, and it comes off the nose, which is generally where you want weight removed in a forward-CG single.
Step 7: Paperwork, insurance and the logbook entry that sells the airplane
When you collect the airplane, you should leave with a completed FAA Form 337, the STC permission or authorization paperwork, an Airplane Flight Manual Supplement for each installed unit, a revised equipment list and weight and balance, and a logbook entry that names the units, the serial numbers and the fact that the vacuum system was removed. Scan all of it the day you get it.
Call your insurer too. A $15,000 panel upgrade changes what the airplane is worth, and a policy written at the old hull value will not pay the new one. If the difference between those two numbers is new to you, see our explainer on agreed value versus stated value aircraft insurance.
Records are a surprisingly large share of what a buyer pays for. Clean, complete documentation of a major upgrade reads as a well-kept airplane, which is the same reason maintenance records move resale price as much as they do.
Flying411 keeps avionics details in the listing data alongside hours and engine time, so you can compare a no-vacuum panel against a stock one without digging through photos.
Does it pay back? The honest resale math
Avionics rarely return a dollar for a dollar. Brokers and appraisers generally credit modern panel work at something like 40 to 70 percent of installed cost in the first few years after the work, with the percentage falling as the equipment ages — and falling fastest on airplanes where the upgrade cost is large relative to the hull value.
The vacuum removal case is better than average for three reasons. First, you avoid a near-term repair bill: a buyer's mechanic who sees a 1,100-hour pump and two tired gyros will ask for a price adjustment, and that adjustment is often $3,000 to $5,000. Second, the airplane sells faster, because a large slice of buyers now filter for "no vacuum" the way they filter for ADS-B. Third, the ongoing cost disappears — no more pump replacements every 500 to 800 hours, no gyro overhauls, no filters.
Run it as a delta, not a total. If a full vacuum refresh would cost you $5,500 and a dual G5 install costs $11,500, the real decision is about $6,000. Recover half of that at sale, skip one future pump, and the upgrade is close to free over a five-year hold. The same reasoning does not hold for a $20,000 GI 275 suite in a $45,000 airframe — there, enjoy it because you want it, not because it pays. Our breakdown of which 172 upgrades actually increase price sorts the winners from the vanity items.
Keep in Mind: If you are likely to sell within twelve months, the cheaper repair usually wins. Upgrades pay best when you fly behind them for several years and bank the safety and the avoided maintenance along the way.
Making the call on your airplane
Add up three numbers: what a full vacuum repair costs you today, what the dual-display install costs, and how many years you plan to keep flying the airplane. If the repair is more than half the upgrade and you are staying put for three years or more, replacing a failing vacuum system with a G5 or GI 275 is the sensible move — you get a more reliable attitude source with its own battery, less weight on the nose, no recurring pump bill, and a panel that photographs well on the day you list it. If the pump is simply old and everything else is healthy, buy the pump and revisit this in a few years.
Flying411 keeps upgraded and stock-panel aircraft side by side in one searchable place, so you can see what the market is really paying for a no-vacuum panel.
When you are ready to compare listings, visitFlying411 and see what is on the market today.
Frequently Asked Questions
Can I remove the vacuum system with only one G5?
Generally no. A single G5 installed as an attitude indicator still leaves you relying on the vacuum directional gyro, so the pump stays. Removing the vacuum system normally requires a pair of units — attitude and HSI or DG — installed per the STC, each with the approved backup power.
Will a G5 or GI 275 work with my old autopilot?
The GI 275 was built with legacy analog autopilots in mind and supports many King and Century systems as a replacement attitude source. The G5 has a narrower list and is most often paired with a Garmin GFC 500. Have your shop confirm your specific autopilot model against Garmin's published interface list before you order anything.
Do I need a new pitot-static certification after the install?
These units connect to the pitot-static system, so opening and reclosing the static system can require the applicable static-system test before IFR operation in controlled airspace under 14 CFR Section 91.411. The transponder has its separate 24-calendar-month inspection requirement under 14 CFR Section 91.413 when the aircraft is operated where a transponder is required.
Does removing the vacuum system make the airplane harder to insure?
No. Insurers do not penalize the removal, and some underwriters view a solid-state attitude source with battery backup favorably. What matters is updating your hull value to reflect the money you just put into the panel.